DIY WREATH TUTORIAL
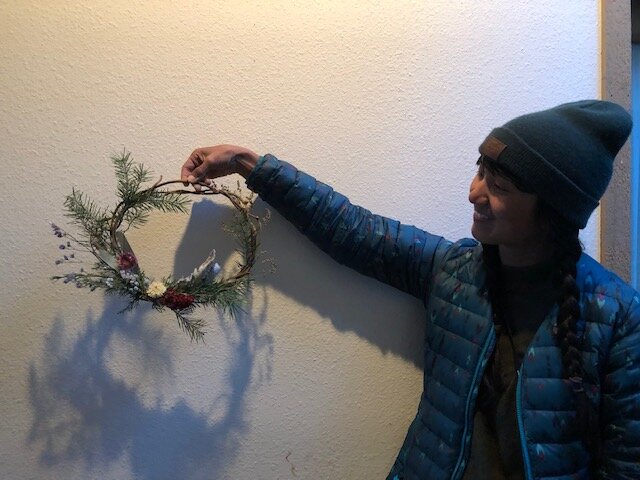
Everlasting wreath using amaranth, strawflower, statice, juniper, yucca and silk tassle
As the days grow darker and colder and the garden goes to sleep ‘tis the season for crafting. I love making evergreen and everlasting wreaths with the abundance from the garden and what I can forage. The smell of evergreen and dried flowers takes me back to the church Christmas sales of my childhood in Vermont, where ruddy-faced old ladies turned piles of pine boughs into beautiful wreaths. It has taken me awhile to teach myself how to make wreaths and streamline the process enough to teach others. In this blog I will outline the steps for creating your very own wreath!
STEP 1. Gather materials
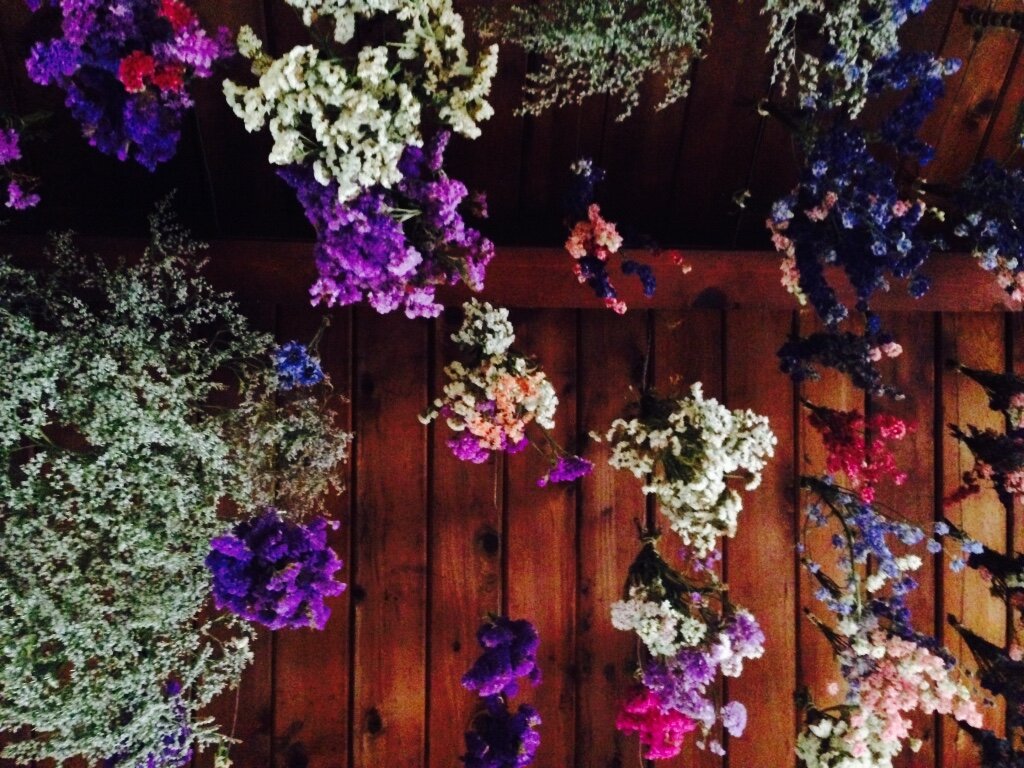
Throughout the season I dry the flowers from the garden simply by hanging them in bunches upside down in my shed. Not only does this make me happy to look at each day, it also satisfies my squirreling habit (or the fear of throwing anything away!)
The view of the ceiling in the drying shed—so much daily joy. Great way to fancy up your she-shed!
There are several rock star drying flowers suited for this very purpose, as they are practically dry when you harvest them fresh! Statice, strawflower and ammobium are in this category. However, I have found that you can dry almost anything! The flowers that work great to hang upside down to dry are lavender, amaranth, larkspur, yarrow (especially the yellow cloth of gold variety). Some species are better when they go to seed, like chocolate lace flower, fennel, nigella and ornamental poppies. Grasses are also wonderful to dry, both native, roadside invasives (how about pampas grass? as well as cultivars). I grow oats, and silver tipped wheat as well as sorghum (aka broom corn) specifically for drying. I encourage you to experiment. In the hot, arid Arizona environment I only need to hang my flower bunches for 1-2 weeks then they get too crispy. I put them in plastic trash bags and store them in cardboard or plastic boxes in a garage or basement until you are ready to create with them! It is so much fun to open the boxes at the end of the season, just like Christmas for me!
Dried wreath material (strawflower, feverfew and chocolate lace flower) hung in bunches and stored until you are ready to make magic.
STEP 2. Make Your Base
Your backyard and neighborhood is guaranteed to have some amazing base materials. I like to use wisteria, grape (wild, cultivated or Virginia creeper), my favorite is kiwi, but you could probably use willow too. I created this short video to show you how I do it. I usually let it dry on the form for a week or two so it holds its shape. If you don’t want to get this complicated the first time out you can also buy a grapevine or metal base at Michaels.
STEP 3. Make your bundles
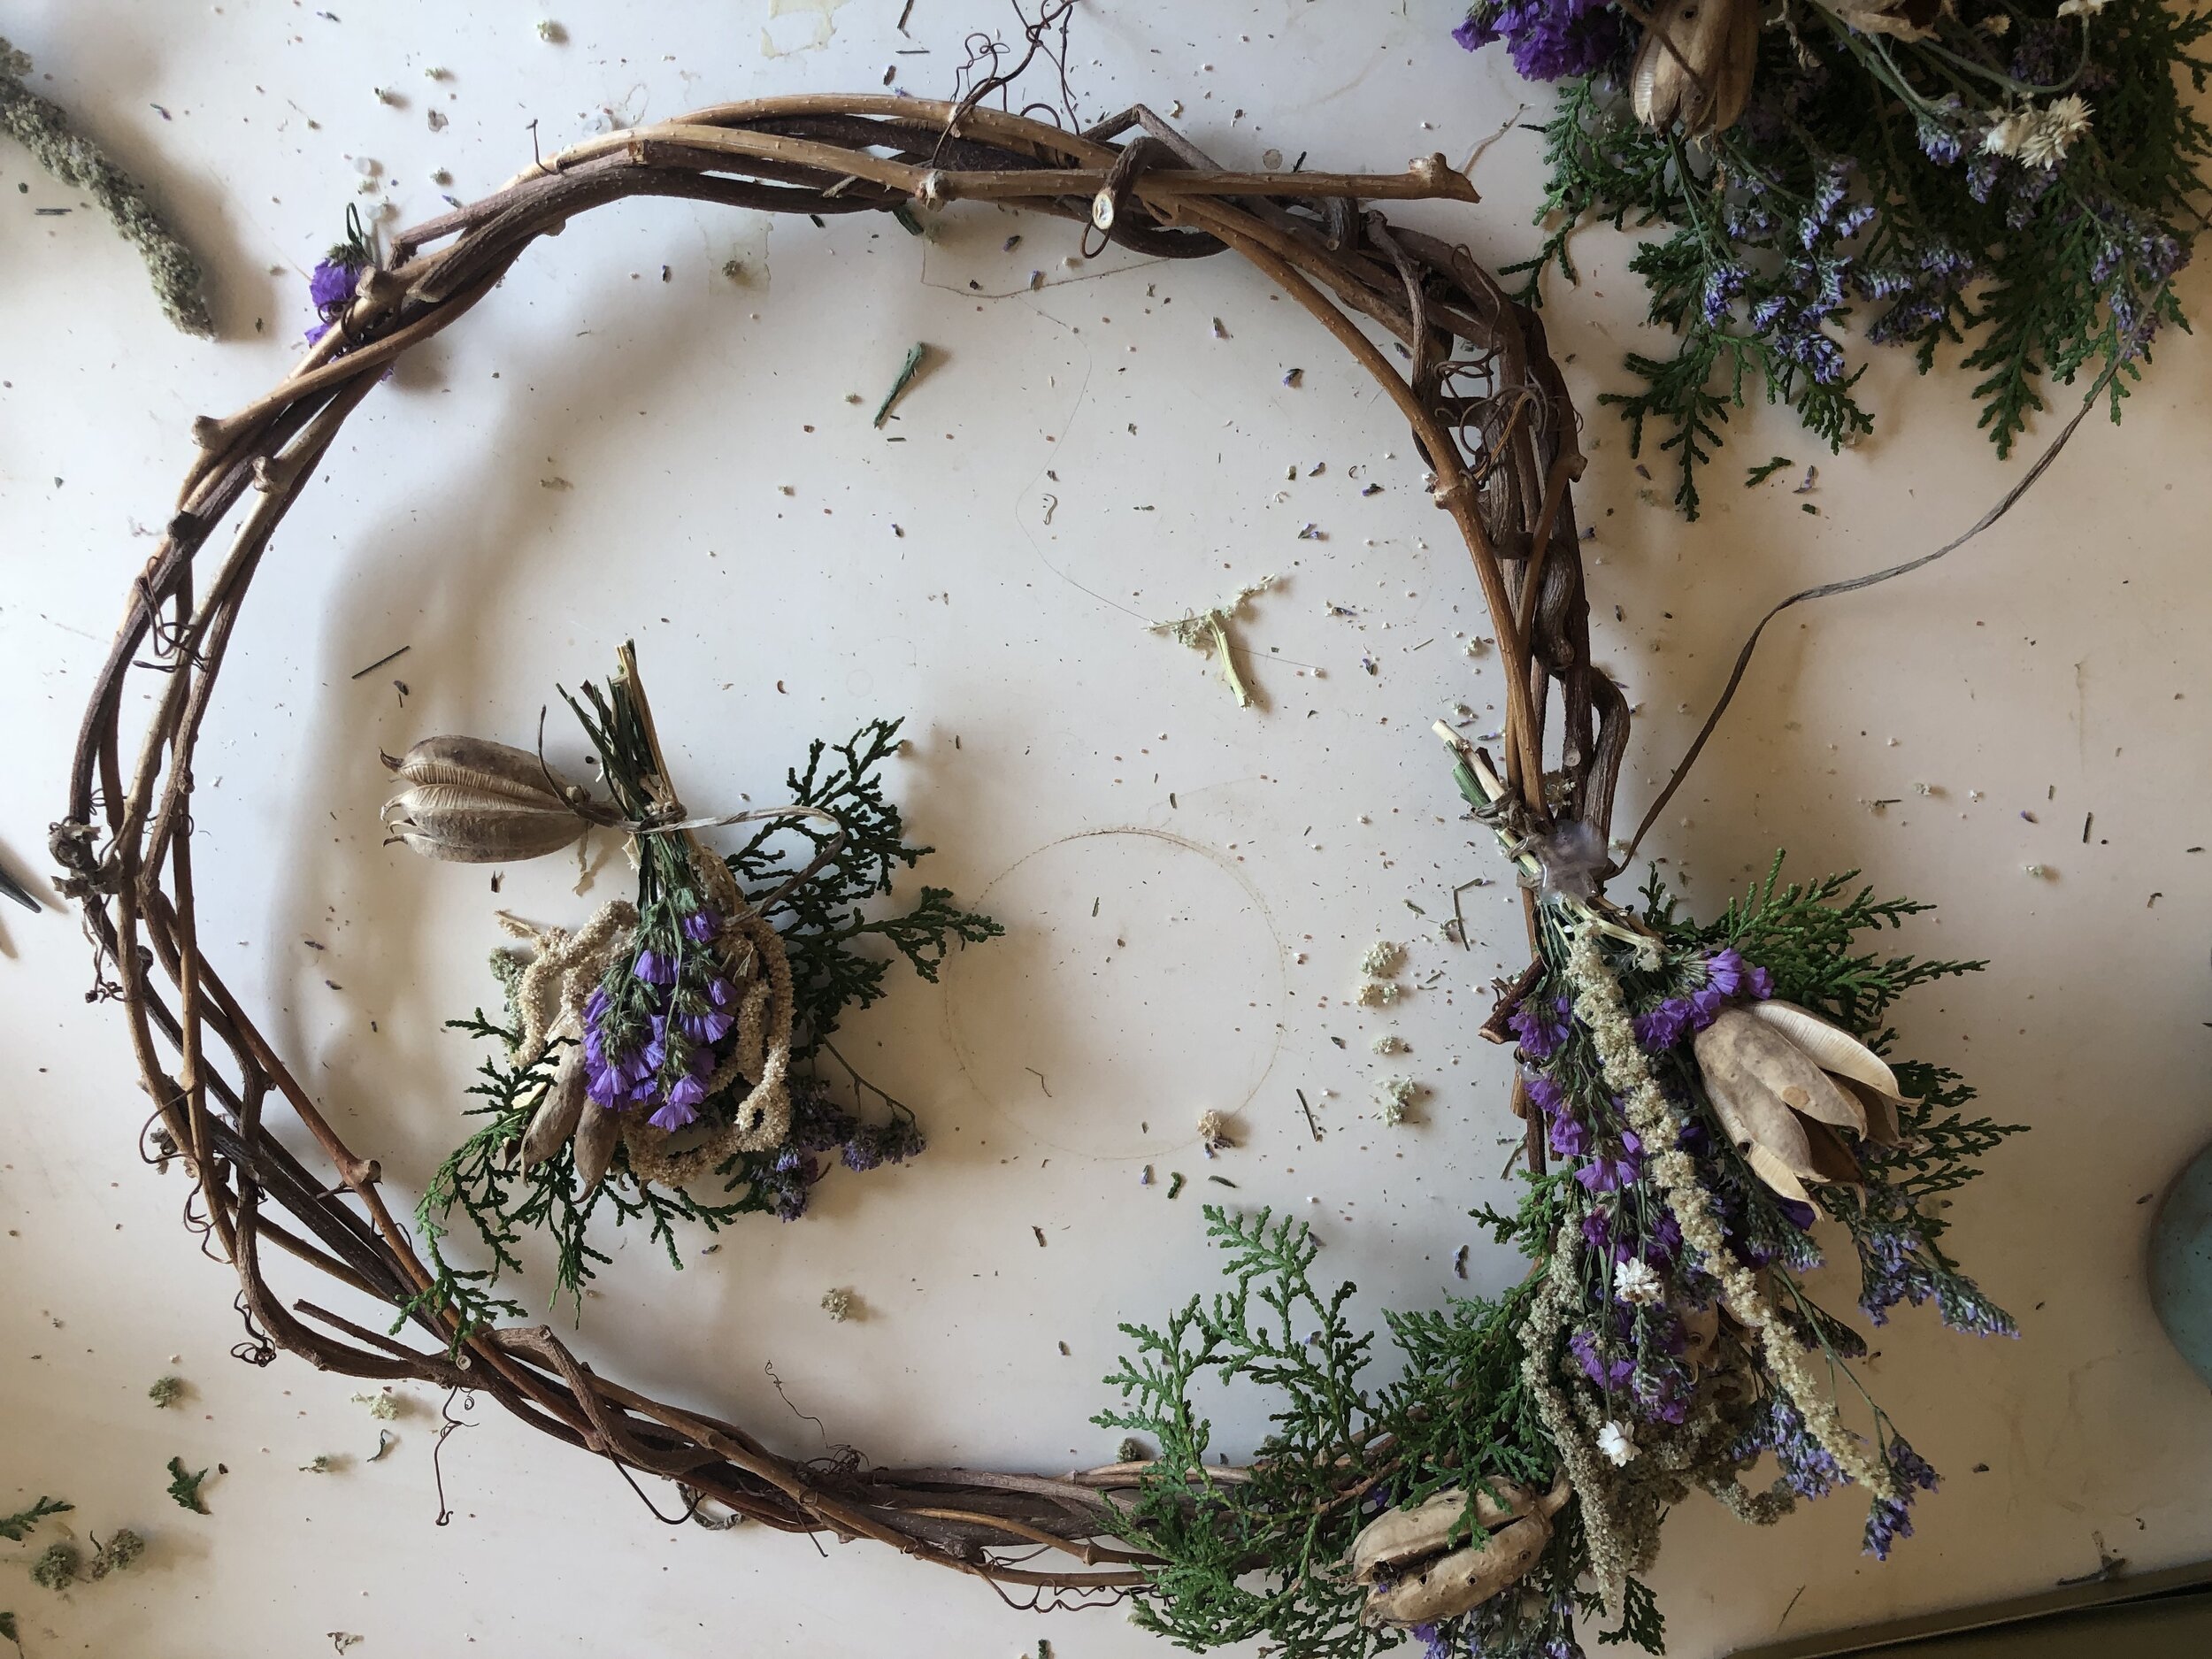
Now it is time to pick out items from what you have gathered and make several bundles to attach to your wreath base. Over the years of making these, I tend to like the more simple designs—just a few colors and only about five different elements, such as a leaf, a pod, a couple supporting flowers and a focal flower. For example in this wreath I use cedar branches, yucca pods, green tassels amaranth, ammobium, two purple statice flowers and roses. Then take a bit of each of your design elements and make small bundles, wrapping them with enough wire to leave about 8-12” of a wire tail. To wrap the bunches on everlasting dried wreaths I like using raffia covered wire as it blends in well with the material. For evergreen wreaths the green paddle wire is preferred. Trim the bundles at the base so all the stems are the same length, preferably about 1-2”. This way they fit nicely on your base.
STEP 4. Attach Bundles
Okay, this is the moment you have been waiting for, where it all comes together. Lay your wreath base on the table and start arranging where your bundles will go. I am a fan of the off-center look, with the nice, natural base showing, but you can do yours however you want! Once you have decided which way is up on your wreath, and how you will lay out your bundles, take a moment to fasten a piece of wire or ribbon on the base where it will hang. Its easier to do this before it is covered in beautiful, fragile bits. It helps to overlay each bundle on top of the next so you hide the attachment point. This part is a bit like sewing, winding the wire around the base and even catching a bit of the next bundle’s top branches, then twist it off and trim the extra. Hit these points with a hot glue gun for stability. You attach all the bundles laying in one direction, or you can have one or two meet from the other side. You will probably have some blank spots where the wire is showing. This is where you can glue on some focal flourishes, like seed pods, larger dried flowers like dahlias, roses or zinnias (see an upcoming drying-how to blog).
STEP 5. Rejoice and Share
Now all you have to do is give yourself a high five and step back and admire your work. I want to add that this is your creation, so if you want to use lots of different items and colors that is your prerogative. As you make more you will start to develop your own tricks and find the style and look that speaks to your aesthetic.
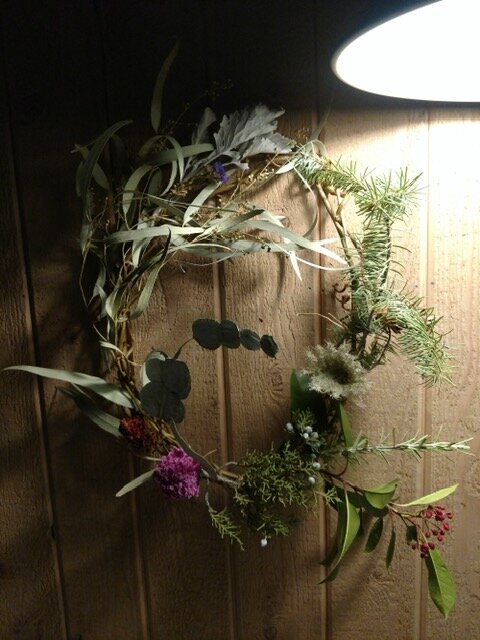
If you are making an evergreen wreath and want to put the greenery all the way around the base, I use the green paddle wire to wrap as I go, still making my bundles first but then attaching the branches with the wire all the way around, as the pine branches do need more support and attachment points to the base.
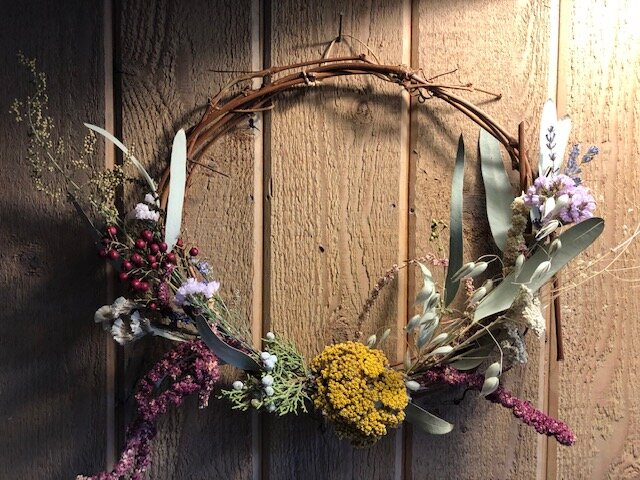
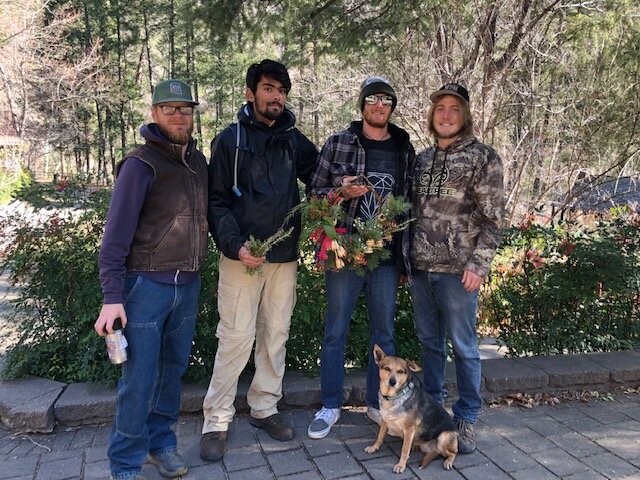
Gallery of wreath creations by Chef Michael Hawkins, Stevie Lewis, Andrea, Herbs from the Heart and the Back to Basics.

